Mess-Free Replacement: 5 Steps for Window Installation
Window replacement can be a daunting task. However, with our expert advice and step-by-step instructions, you can achieve a mess-free installation and enjoy the benefits of new windows in your home. Follow these 5 steps to ensure a perfect installation for your residential home in Toronto.
Key Takeaways:
- Window replacement is a crucial step in enhancing your home’s safety and energy efficiency.
- Proper preparation is essential to ensure a smooth and successful installation process.
- Removing old windows must be done carefully to avoid damage to the surrounding areas.
- Installing new windows requires attention to detail to ensure a perfect fit.
- Finishing touches and clean-up are essential to leave your home spotless after the window replacement process.
Step 1: Preparing for Window Replacement
Before diving into your window replacement project, make the necessary preparations. In this step, we will guide you on the tasks that will help you achieve a worry-free and mess-free installation process.
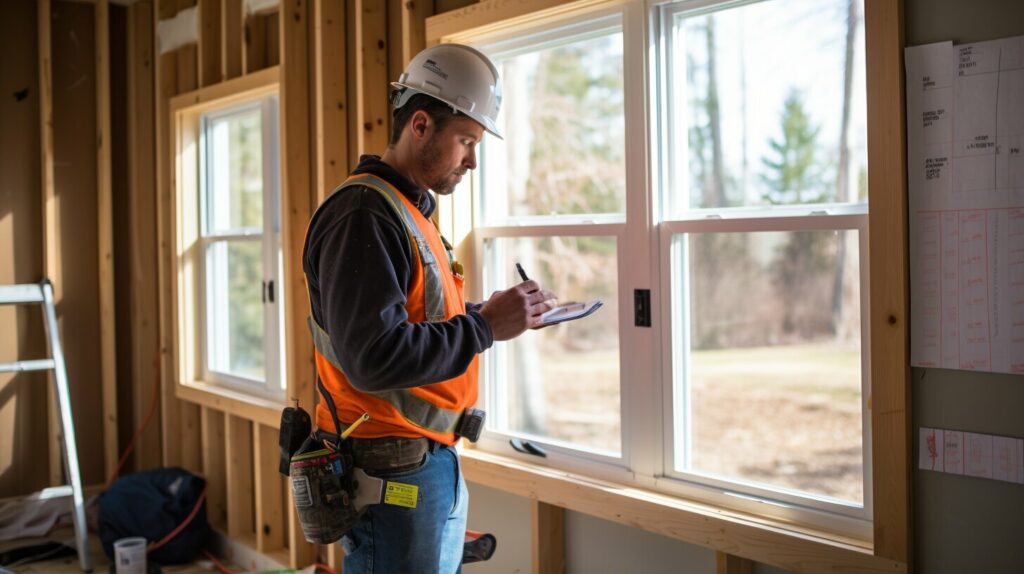
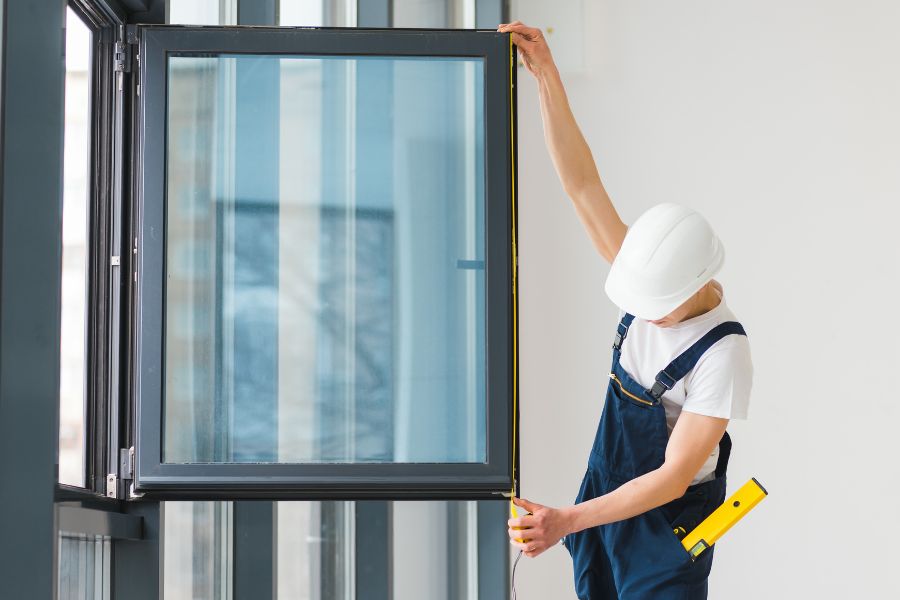
Measuring the Windows: The first thing you need to do is measure the current windows to determine the size of the replacement windows. A bay window and a casement window have very different dimensions. Accurate measurements will ensure that the new windows fit perfectly without any gaps or leaks.
Selecting the Right Replacement Windows: Once you have taken measurements, it’s time to choose the right replacement windows. Consider your home’s architectural style and determine the type and style of the windows that will be suitable.
Preparing the Work Area: Before you start removing the old windows, prepare the work area. Clear out any furniture or obstacles around the window area to ensure a smooth process. Cover the floor with a drop cloth to prevent any damage or mess.
Following these steps will ensure that you are properly prepared for your window replacement project.
Step 2: Removing the Old Windows
Now that you have completed the necessary preparations, it’s time to move on to the next step: removing the old windows. This process requires careful attention to detail to avoid any damage to the surrounding areas. Our team of experts at Windowsville has years of experience in safely removing old windows, and they have shared their insights to ensure a smooth removal process.
First and foremost, it’s important to wear protective gear before starting the removal process. This includes gloves, safety glasses, and a dust mask. Once you’re ready, start by removing the window sashes or panels to expose the frame.
Next, remove any screws or nails securing the frame to the wall. Be careful not to damage the wall or frame during the removal process. Once the frame is detached, use a pry bar to gently pry it away from the wall. Make sure to work slowly and carefully to avoid any damage to the surrounding areas.
After the frame has been removed, use a scraper or putty knife to remove any remaining caulk or adhesive. This will ensure a clean surface for the new window to be installed.
When removing windows from the upper floors of a house, it’s essential to take extra precautions to avoid any accidental falls or injuries. We recommend using a ladder stabilizer to ensure the ladder doesn’t shift or slip while you’re working.
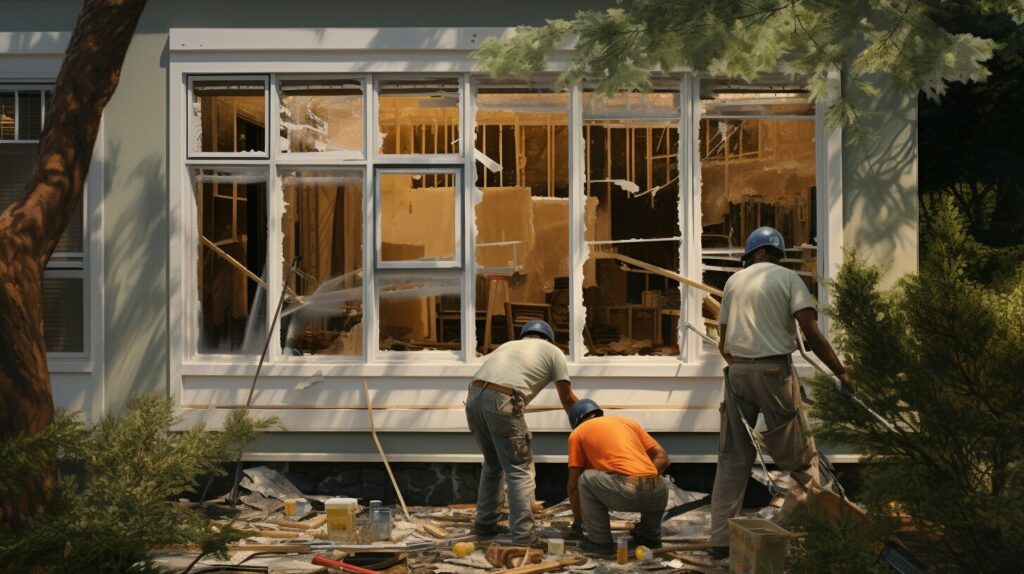
By following these steps, you can safely and efficiently remove your old windows without causing any damage to your home. In the next section, we will guide you through the installation process for your new windows.
Step 3: The Window Installation
Now that the old windows have been successfully removed, it’s time to install the new ones. Proper installation is crucial to ensure a perfect fit and long-lasting performance. Follow these steps for a worry-free process:
- Align the frame: Before placing the new window, we need to ensure that the frame is level and square. Use shims to make any necessary adjustments and ensure that the frame is stable.
- Insert the window: Carefully place the new window into the frame, making sure that it is centered and level. Once in place, use shims to secure it in position.
- Screw the window: Use screws to secure the window into the frame. Be sure to place the screws at a 45-degree angle and avoid over-tightening.
- Apply the trim: Once the window is securely in place, apply the trim around the edges. Use a nail gun to secure the trim in place.
- Seal the gaps: Apply high-quality sealant to the gaps around the edges of the window. This will help prevent any drafts and ensure that the window is airtight.
Properly installing the new windows is just as important as removing the old ones. Ensure that you align the frame, insert and screw the window securely, apply the trim, and seal any gaps for a long-lasting and trouble-free installation process.
Step 4: Finishing Touches and Clean-Up
At Windowsville, we believe that the key to a successful window replacement project is in the finishing touches and clean-up. After all, we want our clients to enjoy their new windows without any leftover mess or debris.
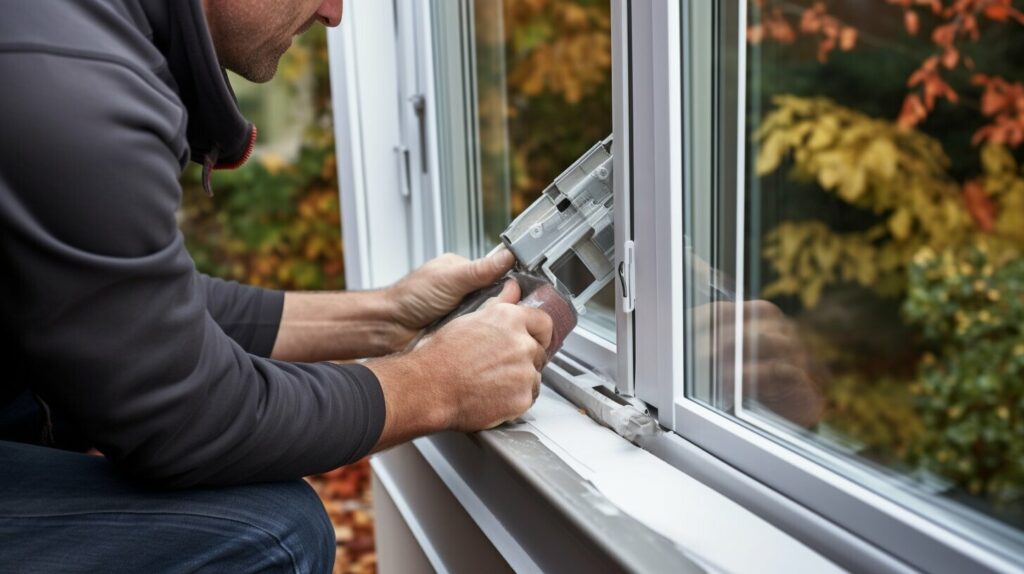
First, we will carefully seal the windows to ensure they are airtight and energy-efficient. This will prevent any drafts or leaks that could compromise the comfort of your home. Next, we will apply any necessary weatherstripping to keep out the elements and maintain a comfortable indoor temperature.
Once the windows are sealed and weatherstripped, we will take extra care to clean up the work area. We will dispose of all old window materials and debris, leaving your home spotless and tidy.
Finally, we will do a walkthrough of the work area with you to ensure your satisfaction with our job. We want to make sure that every aspect of the window replacement process meets your expectations, from the installation to the clean-up.
With our attention to detail and commitment to quality, you can trust Windowsville to provide a mess-free and stress-free window replacement experience.
Step 5: Window Inspection and Safety Checks
At Windowsville, we understand that the safety of your home and family is of utmost importance. That’s why we always perform a thorough window inspection and safety checks after new window installation. This step is crucial to ensure that your windows are functioning properly and meet all safety standards.
Window Inspection
During the window inspection, our team will carefully examine each window to ensure that it has been installed correctly and is functioning properly. We will check for any gaps or leaks that may allow drafts or moisture to enter your home. Our experts will also inspect the framing and hardware to ensure that they are secure and functioning correctly. Any issues found during the inspection will be promptly addressed to ensure that your windows are in top condition.
Safety Checks
Safety is a top priority for us at Windowsville, which is why we always perform safety checks after installing new windows. Our team will check that the windows are securely in place and cannot be accidentally opened by children or pets. We will also ensure that the locks and hardware are functioning correctly and that the windows meet all safety requirements. Any issues found during the safety checks will be promptly addressed to ensure that your windows are safe and secure for your family.
Once the window inspection and safety checks are completed, we will provide you with a detailed report of our findings. We want to ensure that you are completely satisfied with your new windows and that they meet all safety and performance standards. If you have any questions or concerns, our team is always available to provide support and assistance.
FAQ
How long does window installation take?
The time it takes to replace windows will depend on several factors, including the number of windows being replaced, the size of the windows, and the complexity of the installation. On average, window replacement projects can take anywhere from a few hours to a full day. Our team at Windowsville will provide you with a more accurate time frame based on your specific project.
Can I replace my windows myself?
While it is possible to replace windows yourself, we highly recommend hiring professionals for this task. Window replacement requires specialized knowledge and skills to ensure proper installation, energy efficiency, and long-term durability. DIY window replacement can lead to costly mistakes and potential safety hazards. Trust the expertise of our team at Windowsville to handle your window replacement needs.
How much does window replacement cost?
The cost of window replacement will depend on factors such as the size and type of windows, the materials used, and the complexity of the installation. At Windowsville, we offer competitive pricing and will provide you with a detailed quote based on your specific requirements. Contact us today for a free estimate.
What types of windows are available for replacement?
We offer a wide range of windows for replacement, including casement windows, double-hung windows, sliding windows, and more. Our team at Windowsville will help you choose the right type of window based on your preferences, budget, and the architectural style of your home. We prioritize energy efficiency, durability, and aesthetic appeal in all our replacement windows.
Are there any warranties on window installation?
Yes, at Windowsville, we stand behind the quality of our products and workmanship. We offer warranties on our window replacement services, including manufacturer warranties on the windows themselves. Our team will provide you with all the necessary warranty information and address any concerns you may have regarding our warranty coverage.
Your Takeaway
If you’re ready to replace your windows, but are worried about encountering obstacles along the way, please give us a call at (905) 790-0909. You can trust our team at Windowsville for your window replacement project. We are committed to providing high-quality products and services that meet all of your needs. Contact us today to get started!
Replacing your
Windows & Doors?
